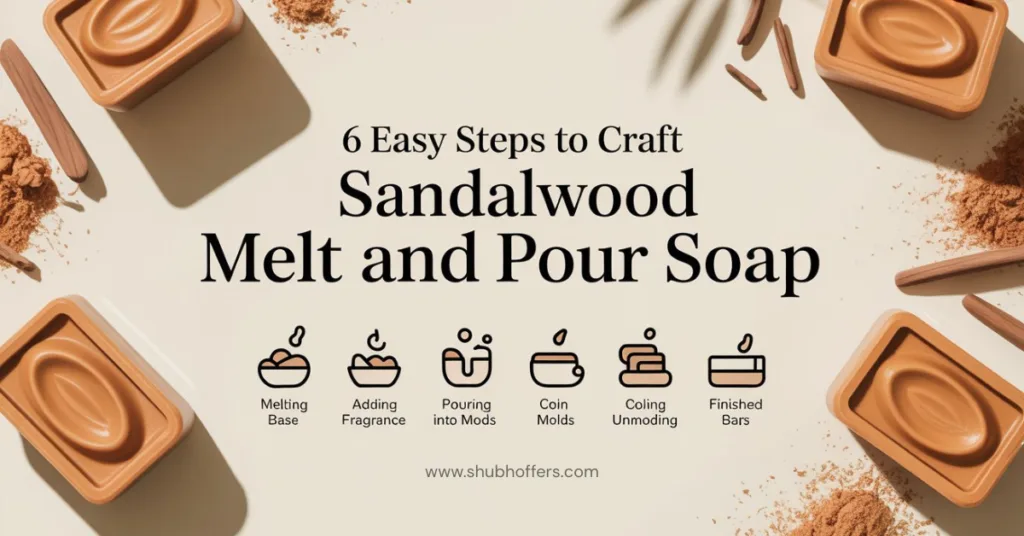
Crafting Luxury, One Bar at a Time
Welcome — this friendly guide walks you through six easy steps to create silky, SANDALWOOD-scented melt-and-pour soaps. You’ll learn to blend luxe fragrance, color, and finishes safely, producing beautiful bars with no special equipment or chemistry degree needed or prior experience.
What You’ll Need

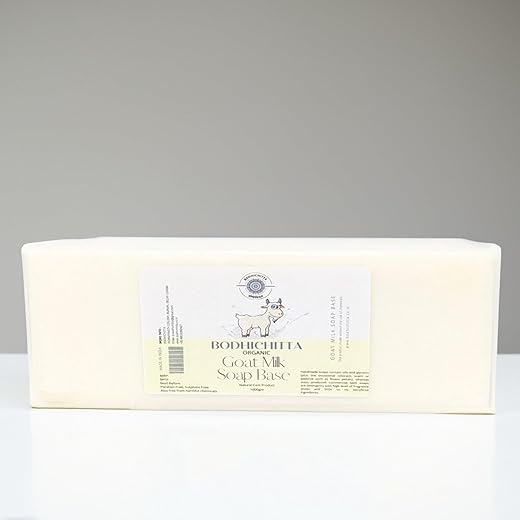
Choose the Right Melt-and-Pour Base
Does the base really change the vibe? Absolutely — pick wisely for silky lather and skin-friendly luxury.Choose a base that matches the look, feel, and skin needs you want. Pick clear glycerin for vivid colors and translucent bars, creamy goat’s milk for a nourishing feel, or a shea/butter base for extra conditioning and a richer lather.
Consider how additives like powders and clays will suspend (opaque bases hold clays better). Plan quantities and buy cosmetic-grade blocks—typical small runs use about 1–2 lb of base.
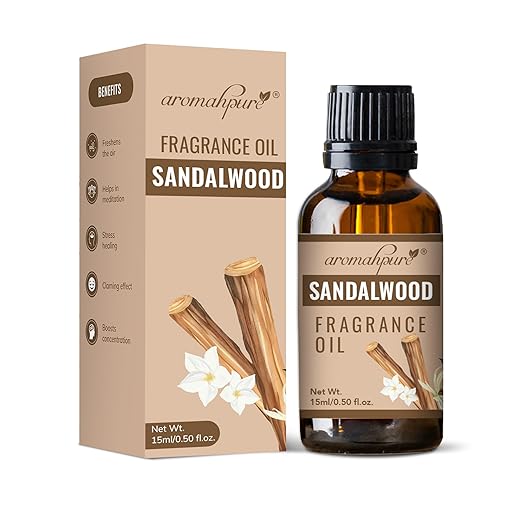
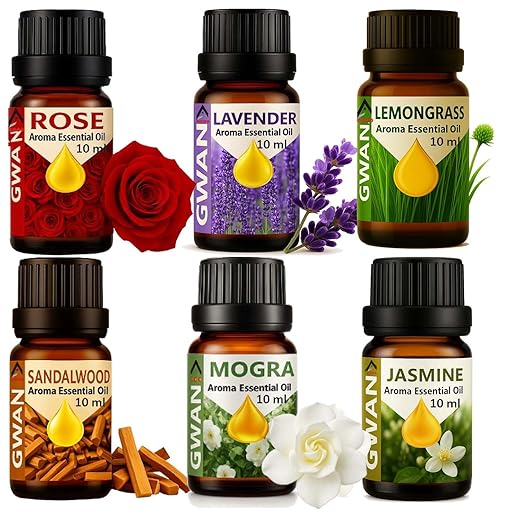
Pick Luxurious Sandalwood Fragrance and Enhancers
Want your soap to smell like a spa? Here’s how to nail a rich, long-lasting sandalwood scent.Choose between pure sandalwood essential oil (expensive, subtle) and sandalwood fragrance/CO2 extracts (stronger, more cost-effective).
Determine a safe scent load—typically 0.5–3% for essential oils and ~3–5% for fragrance oils—and plan to test on a 2–4 oz sample.
Test a small batch first; melt 2 oz base, add the calculated scent, cool, and judge the wet and dry scent throw before scaling up.
Prepare and Melt Safely
Microwave or double boiler — which melts without drama? Let’s keep things safe and smooth.Cut the melt-and-pour base into uniform 1-inch cubes for even, fast melting.
Use a microwave in short bursts—15–30 seconds (try 20s), stirring between cycles—or heat gently in a double boiler for larger batches. Stir frequently to distribute heat and avoid hot spots.
Keep the temperature under ~140°F (60°C) to protect your sandalwood fragrance and prevent scorching; check with a candy or infrared thermometer.
Work on a clean, dry surface and keep clutter away so you don’t rush.
Have molds and additives ready so you can move quickly once melted.

Mix Fragrance, Additives & Color
Tiny tweaks = big luxury — the timing and technique make the scent, color, and texture sing.Cool the melted base slightly to about 120°F (50°C) before adding fragrance to preserve that warm, woody sandalwood note.
Measure fragrance precisely—use a scale or pipette—and stir gently but thoroughly to fully incorporate scent without whipping in air.
Add colorants a little at a time and stir until uniform. For example, use micas for a pearly shimmer (try a tiny pinch for a soft glow) and liquid soap dyes for bold, even hues.
Fold in exfoliants or botanicals last—think finely ground oatmeal or crushed sandalwood chips—so they don’t sink.
Consider adding a light emulsifier like polysorbate 80 when using heavy fragrance oils or glitter to prevent oily residue or sparkles on the soap surface.
Pouring, Molding & Decorative Finishes
Want Instagram-worthy bars? It’s all in the pour — layers, swirls, and toppings turn simple soap into showstoppers.Pour slowly into silicone molds at about 110–120°F (43–49°C) to minimize air pockets. Tap the mold gently on the counter to release trapped bubbles and watch the surface settle.
Pour in staged layers for a layered bar: pour a thin base, let it gel slightly (5–10 minutes), then add the next color. Tilt molds or pour a contrasting stream while moving the mold to create swirls; drag a skewer through the top for marbling.
Add surface décor right after pouring: dust a pinch of sandalwood powder, sprinkle mica highlights, or pipe a creamy top for a bakery-style finish.
Use silicone molds for easy release and clean up rough edges with a heated knife for crisp, professional lines.

Unmolding, Finishing, Curing & Packaging
Make them last and look pro — quick finishing touches and smart packaging elevate your handmade bars.Wait until bars are fully set (usually 1–2 hours, longer for large molds) before unmolding. If a bar still feels tacky, wait another 30–60 minutes — patience avoids squashed details.
Trim edges with a vegetable peeler or a heated blade for crisp lines. For smooth sides, shave like you’re shaving a block of chocolate to see the clean edge.
Let bars rest on a cooling rack for 24–48 hours to firm and stabilize before handling or wrapping.
Label bars with fragrance and full ingredients, and include a patch-test note (e.g., “Test on a small skin area first”).
Store in a cool, dry place and wrap for gifting in:
Track shelf life: 6–12 months. Recommend gentle use to preserve fragrance and finish.
Ready to Make Your First Batch?
Follow the six steps, experiment with small test bars, and soon you’ll be gifting or selling elegant sandalwood soaps that smell and feel truly luxurious—ready to turn leftover base into beautiful bars that reflect your style, personality, and unique craftsmanship?

Quick FYI: microwaving the base in plastic can melt the container sometimes. The guide said to use a glass Pyrex — totally agree. Saved my kitchen utensils once 😂
I also avoid heating past recommended temps and stir slowly to avoid hot spots. Use oven mitts — learned that one the hard way!
Okay, full disclosure: I’m a total newb and the idea of measuring fragrance by weight instead of drops freaks me out. The guide’s step about weighing is super helpful but can you explain why weight is better than drops?
Also — how do you label batches so you remember mixes later? I tried sticky notes once, they fell off in my craft drawer. 😭
Long story short: could someone share a foolproof beginner protocol for measuring, labeling, and curing a small first batch? Thank youuuu!
If you’re nervous, practice with water and syringes to get a feel for measurements without wasting ingredients.
First batch done — turned out gorgeous and smelled like a fancy spa. Thanks for making the steps so easy to follow! 💛
That makes my day, Grace! Would love to see a photo if you’re up for sharing — others here would appreciate the inspo.